Knob Bolo Tie Process
Growing up, my father made bolo ties from collected pieces of other pre-made/ready made jewelry. He made these from various pieces of sterling silverware, broaches, rings, pins, stones, spoons and other findings. I considered these to be collage pieces as he isn’t doing casting, smithing, or engraving. Just good ol’ having a good eye for nice things, being a picker/junker of sorts, and making something out of nothing.


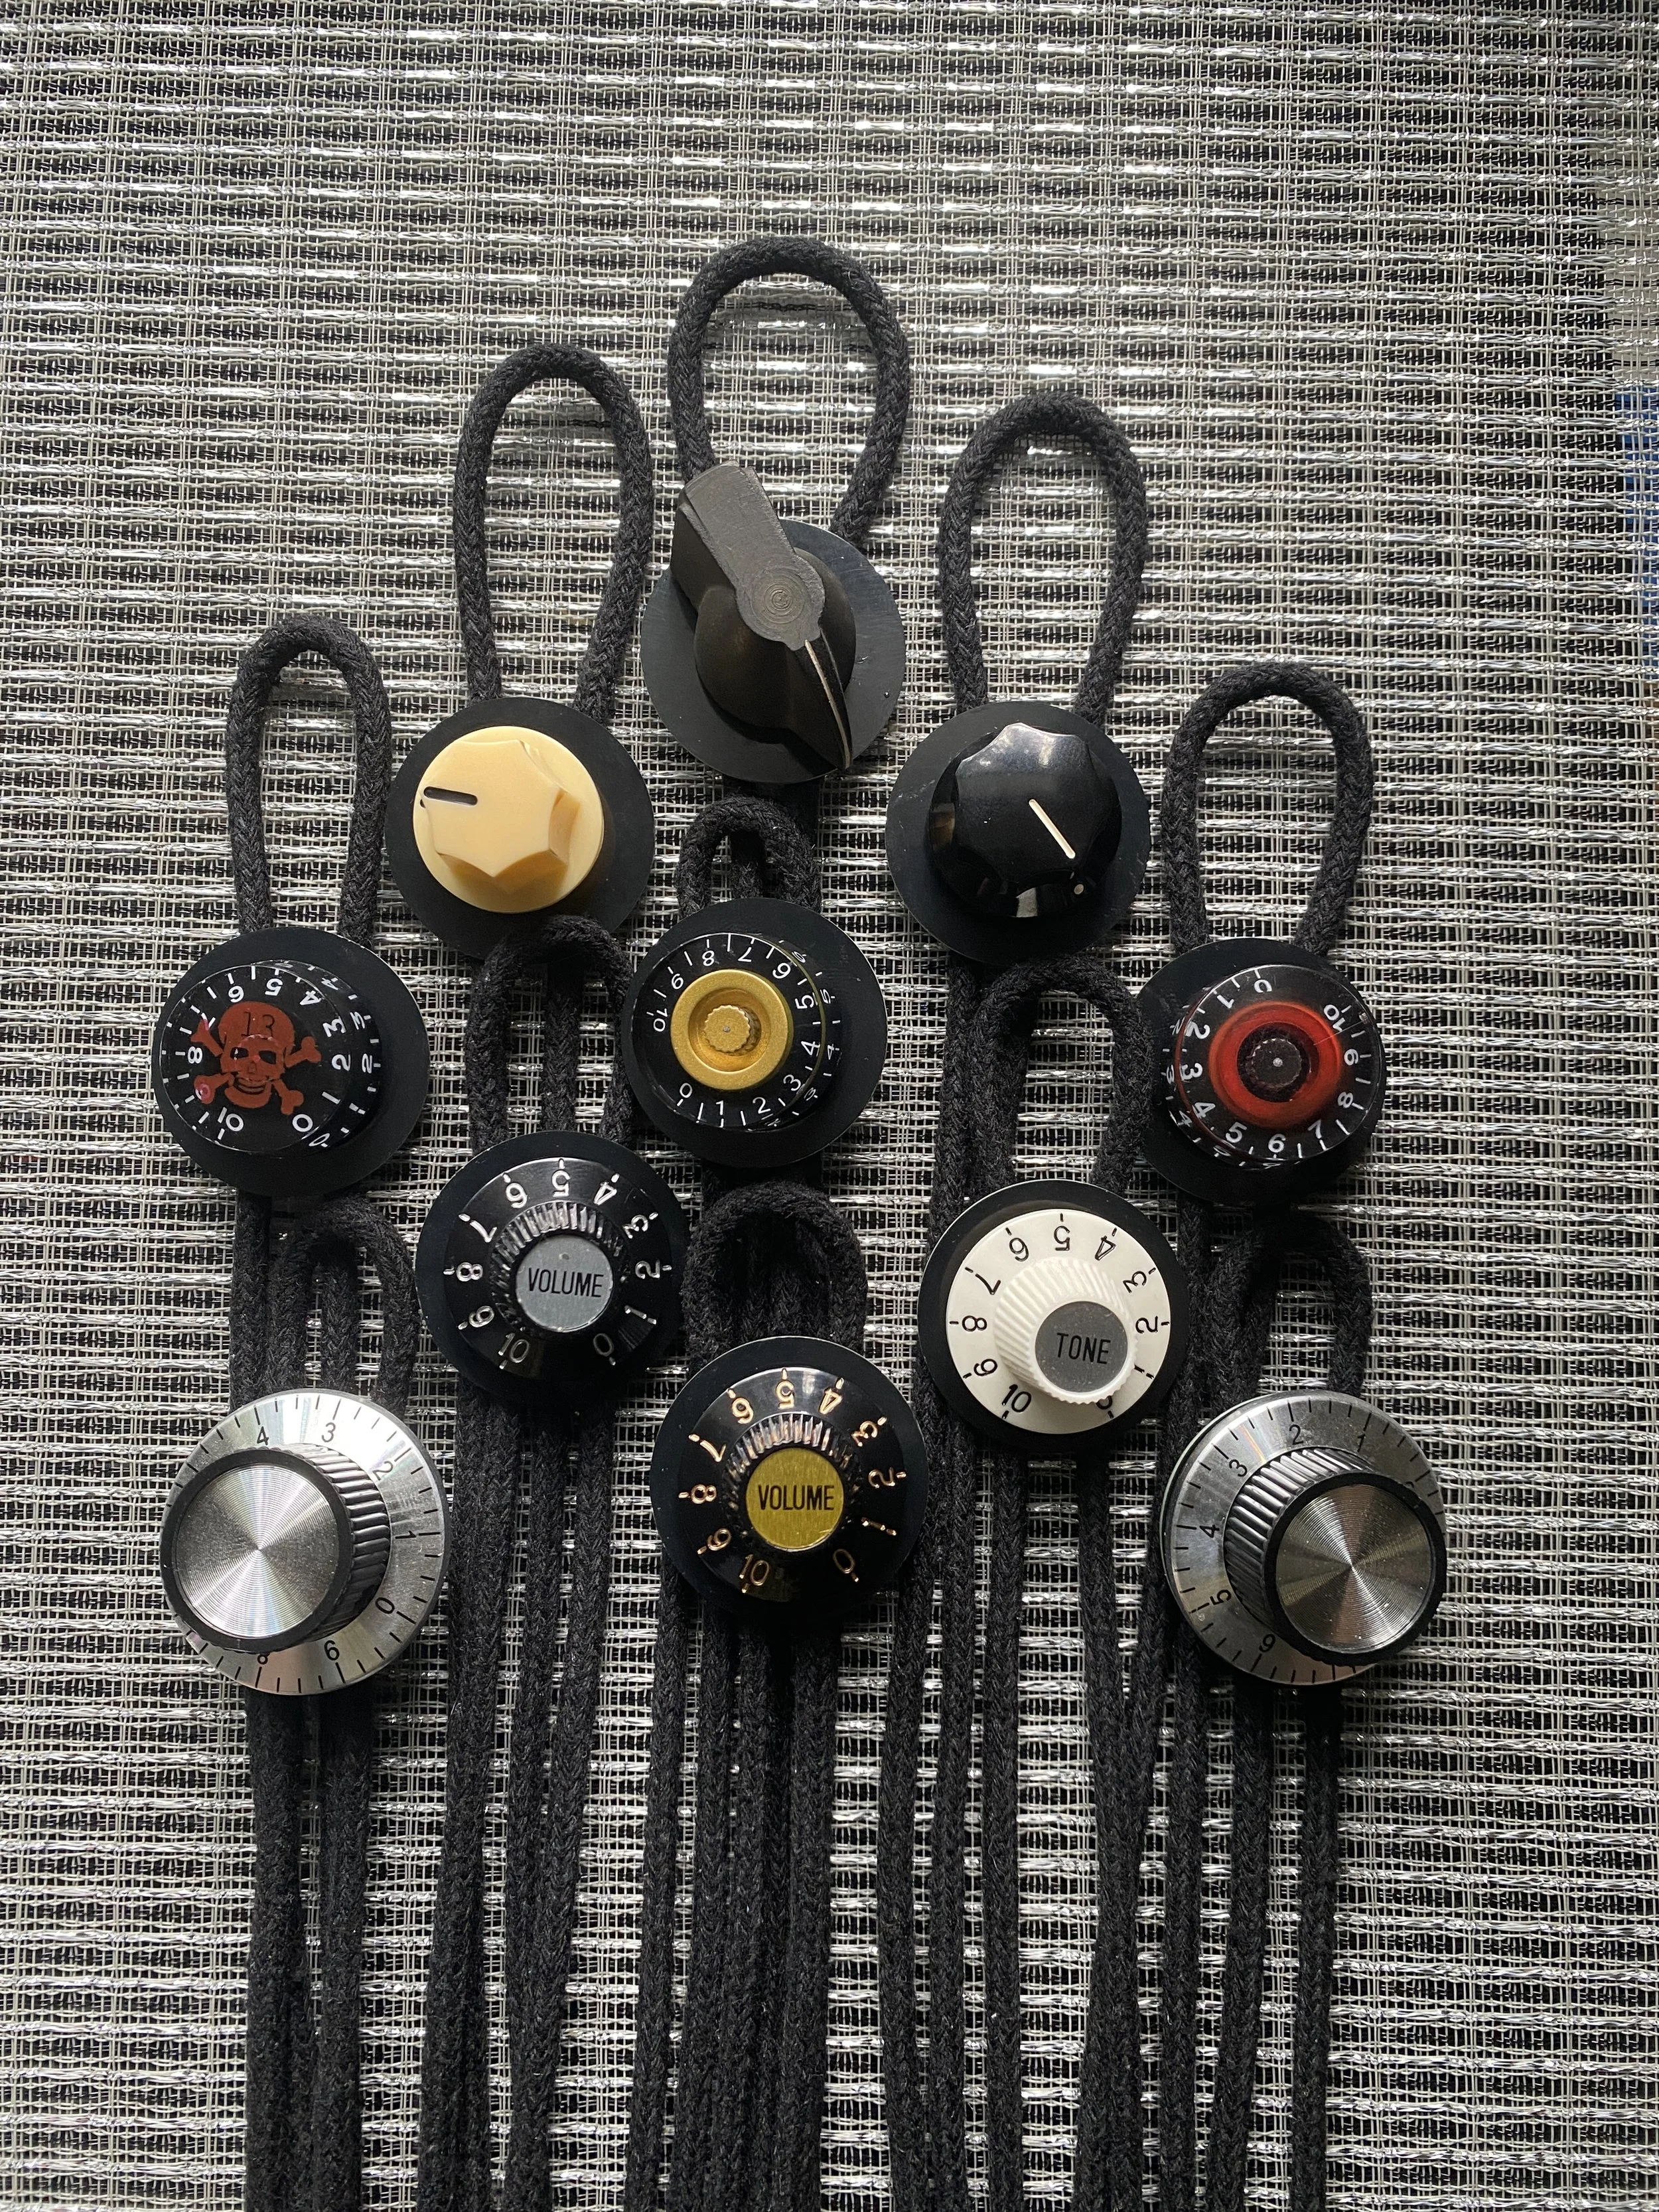
Being a musician and artist myself, I of course had to take a stab at it myself, but with my own approach. The aesthetics of audio gear with knobs and colors and textures, got me thinking about how cool it would be to make some bolo ties with different types of knobs.


The first run of these I used protoboard for prototyping electronic projects, as it has copper traces on one side. I used some pinchers to snip down a piece to be a small enough base to hide behind the knob itself. Once I soldered the potentiometers to the protoboard, I then trimmed down the plastic shaft to allow the know to sit a little closer the base. I also would use a 15/64’’ drill bit to hollow out the inside of the 6mm knobs inserts to push past the predetermined shaft threads.
Below is a video showing them off.


At this point, I was still not satisfied with the amount of time it takes to snip down protoboard and rig together something that is functional, aesthetic and comfortable to wear, so I naturally decided to design a custom PCB (Printed Circuit Board) to make this process a little cleaner and consistent.
I used KiCAD, a free PCB design software to make the PCBs. KiCAD has a handy ‘PCBway’ button that packages up your files nicely and opens PCBway in your browser to start the ordering process. This was very simple design, the only real wotk was to make sure I chose the appropriate footprint for the 6mm potentiometer to fit into the solder points.

KiCAD Design Software
My intention was to design a PCB that would hide behind the knob itself, so after some measurements I went with 18mm. 18mm was the average size of the hand snipped protoboard I was working with originally.
I place the order, and a week later, I had them in my hand….and they were the wrong size.
In the original design, I correctly chose 18mm, however, the 18mm measurement was set to radius, not diameter. So what I ended up with was 36 mm diameter PCBs.
This ended up being a blessing in disguise because now the Bolo Tie has an area to grab the bolo while they adjust that isn’t the knob itself.
Sometimes being a dummy and rushing can pay off. SOMETIMES. Measure twice, cut once folks.
I originally only ordered 10 PCBs as a test, but I had to make them all! I was very excited to see this idea come to life!

Knob Bolo, mkII
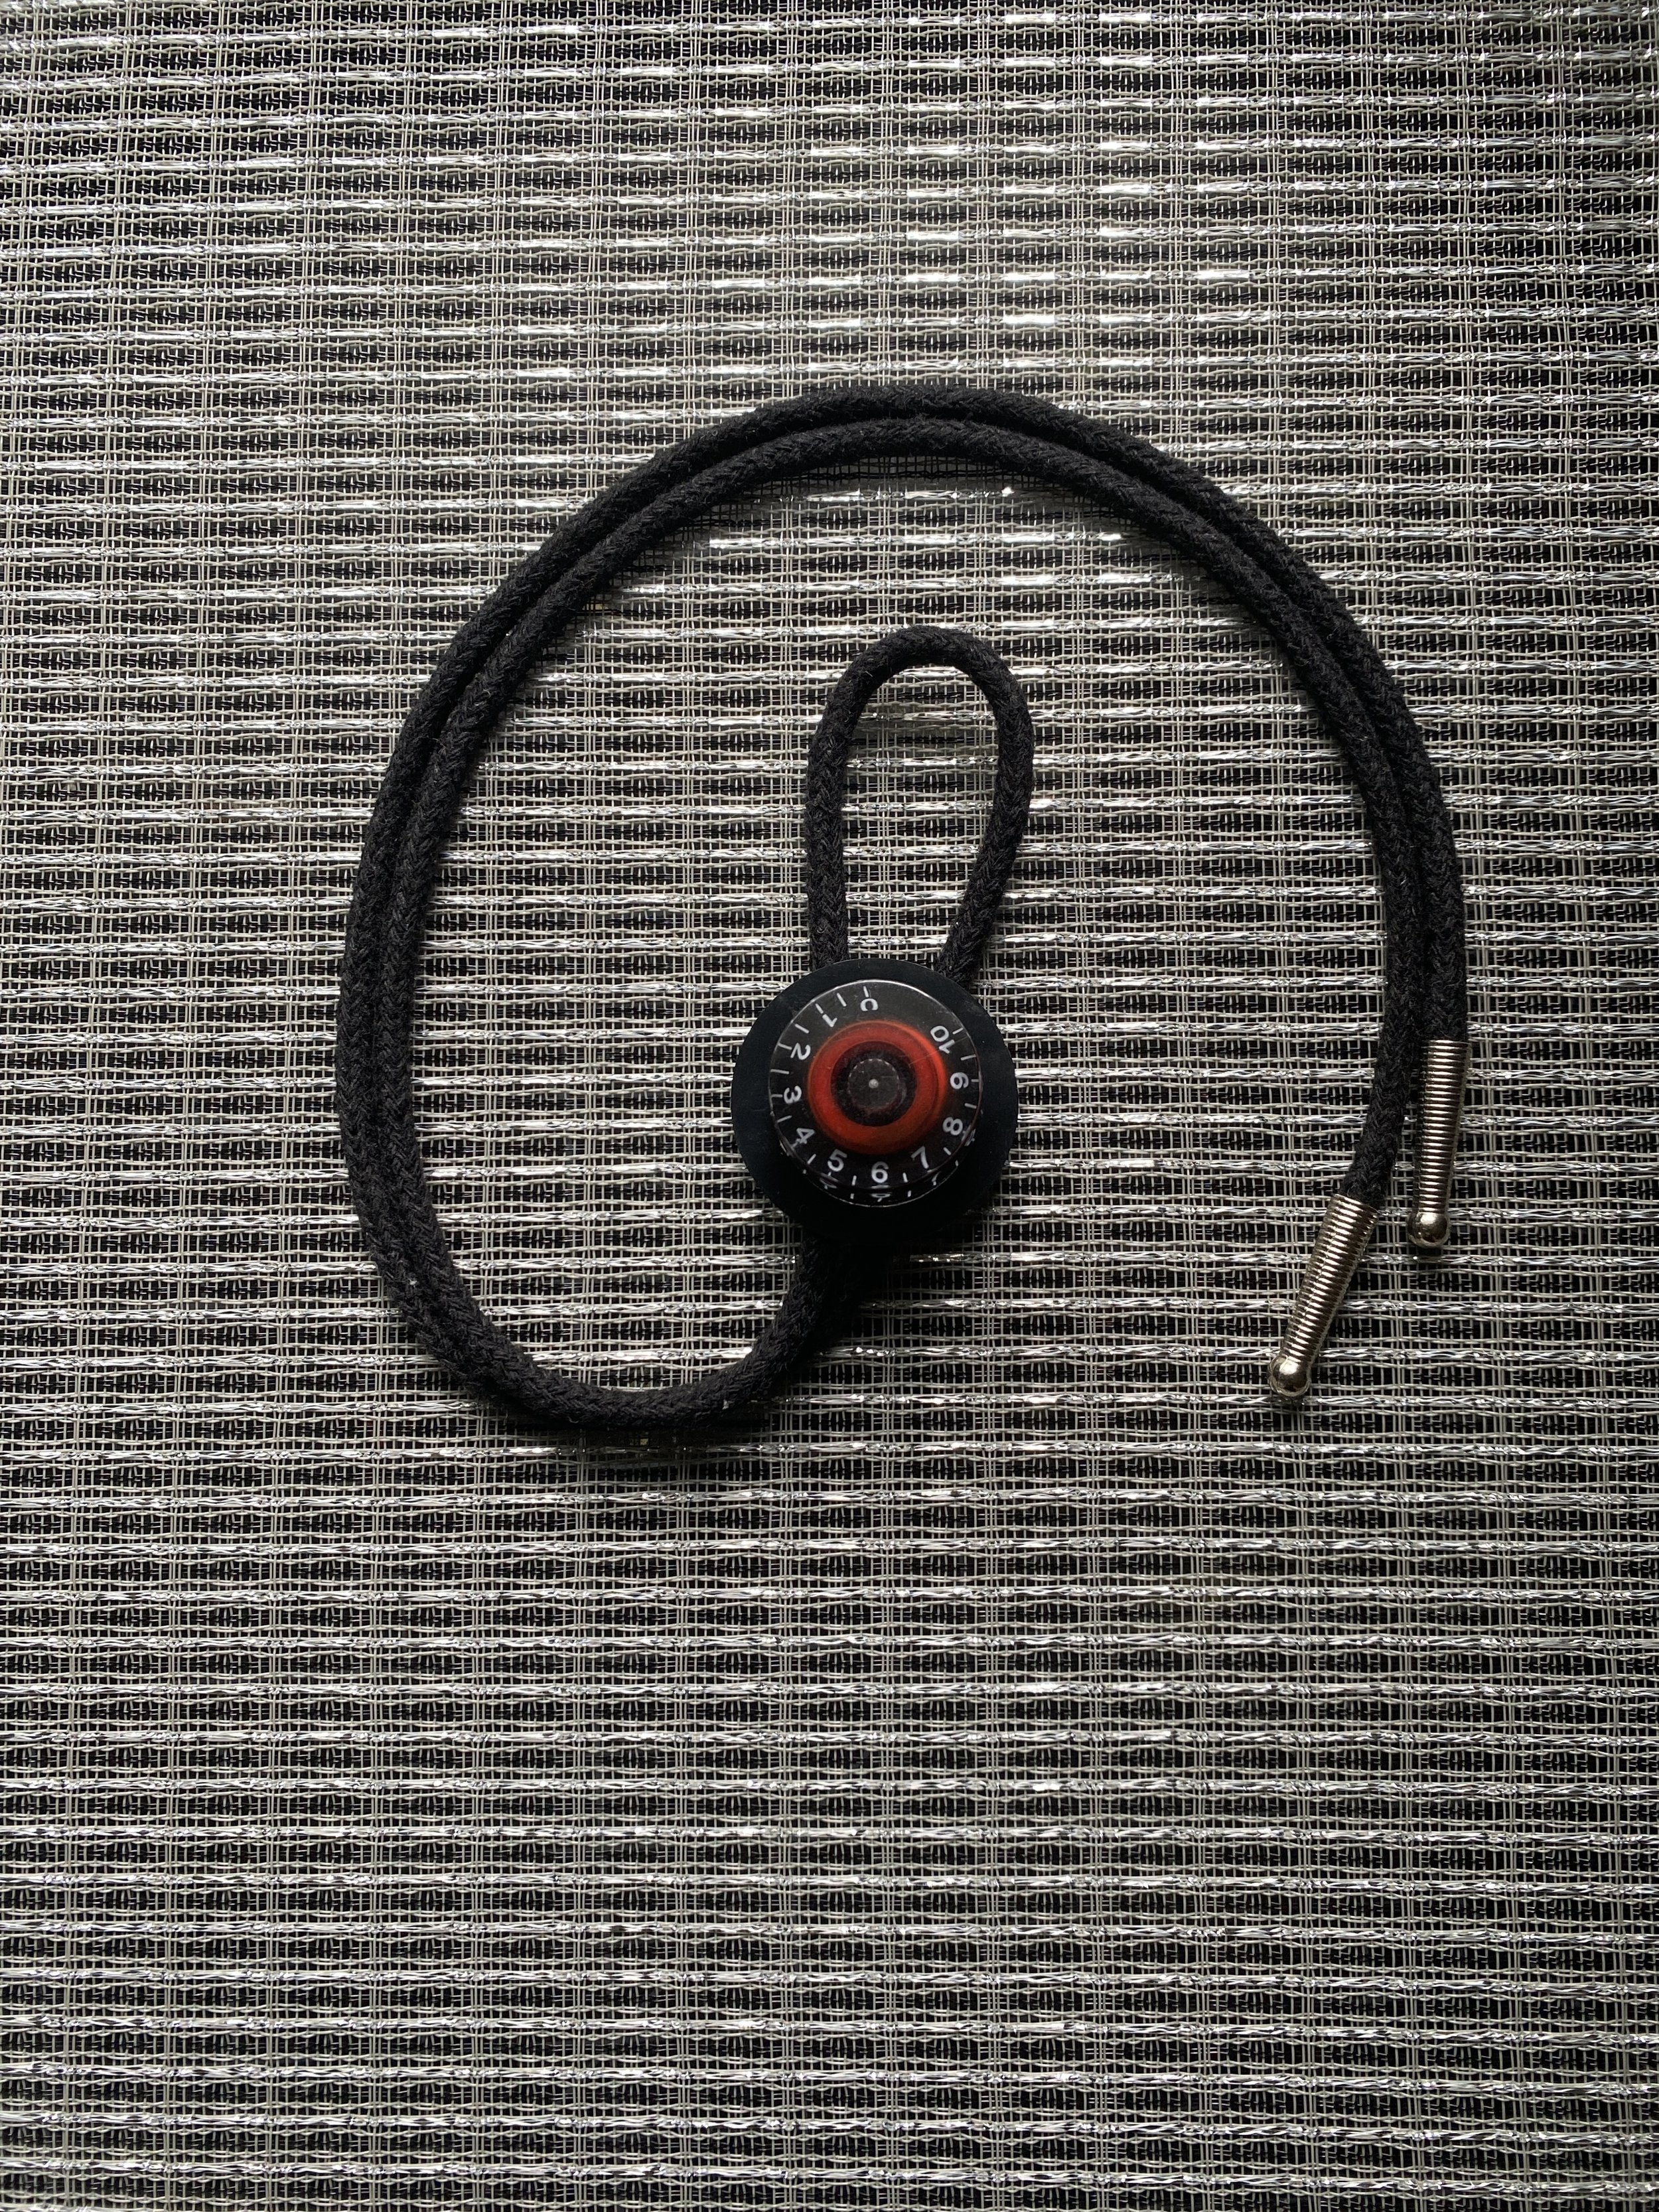
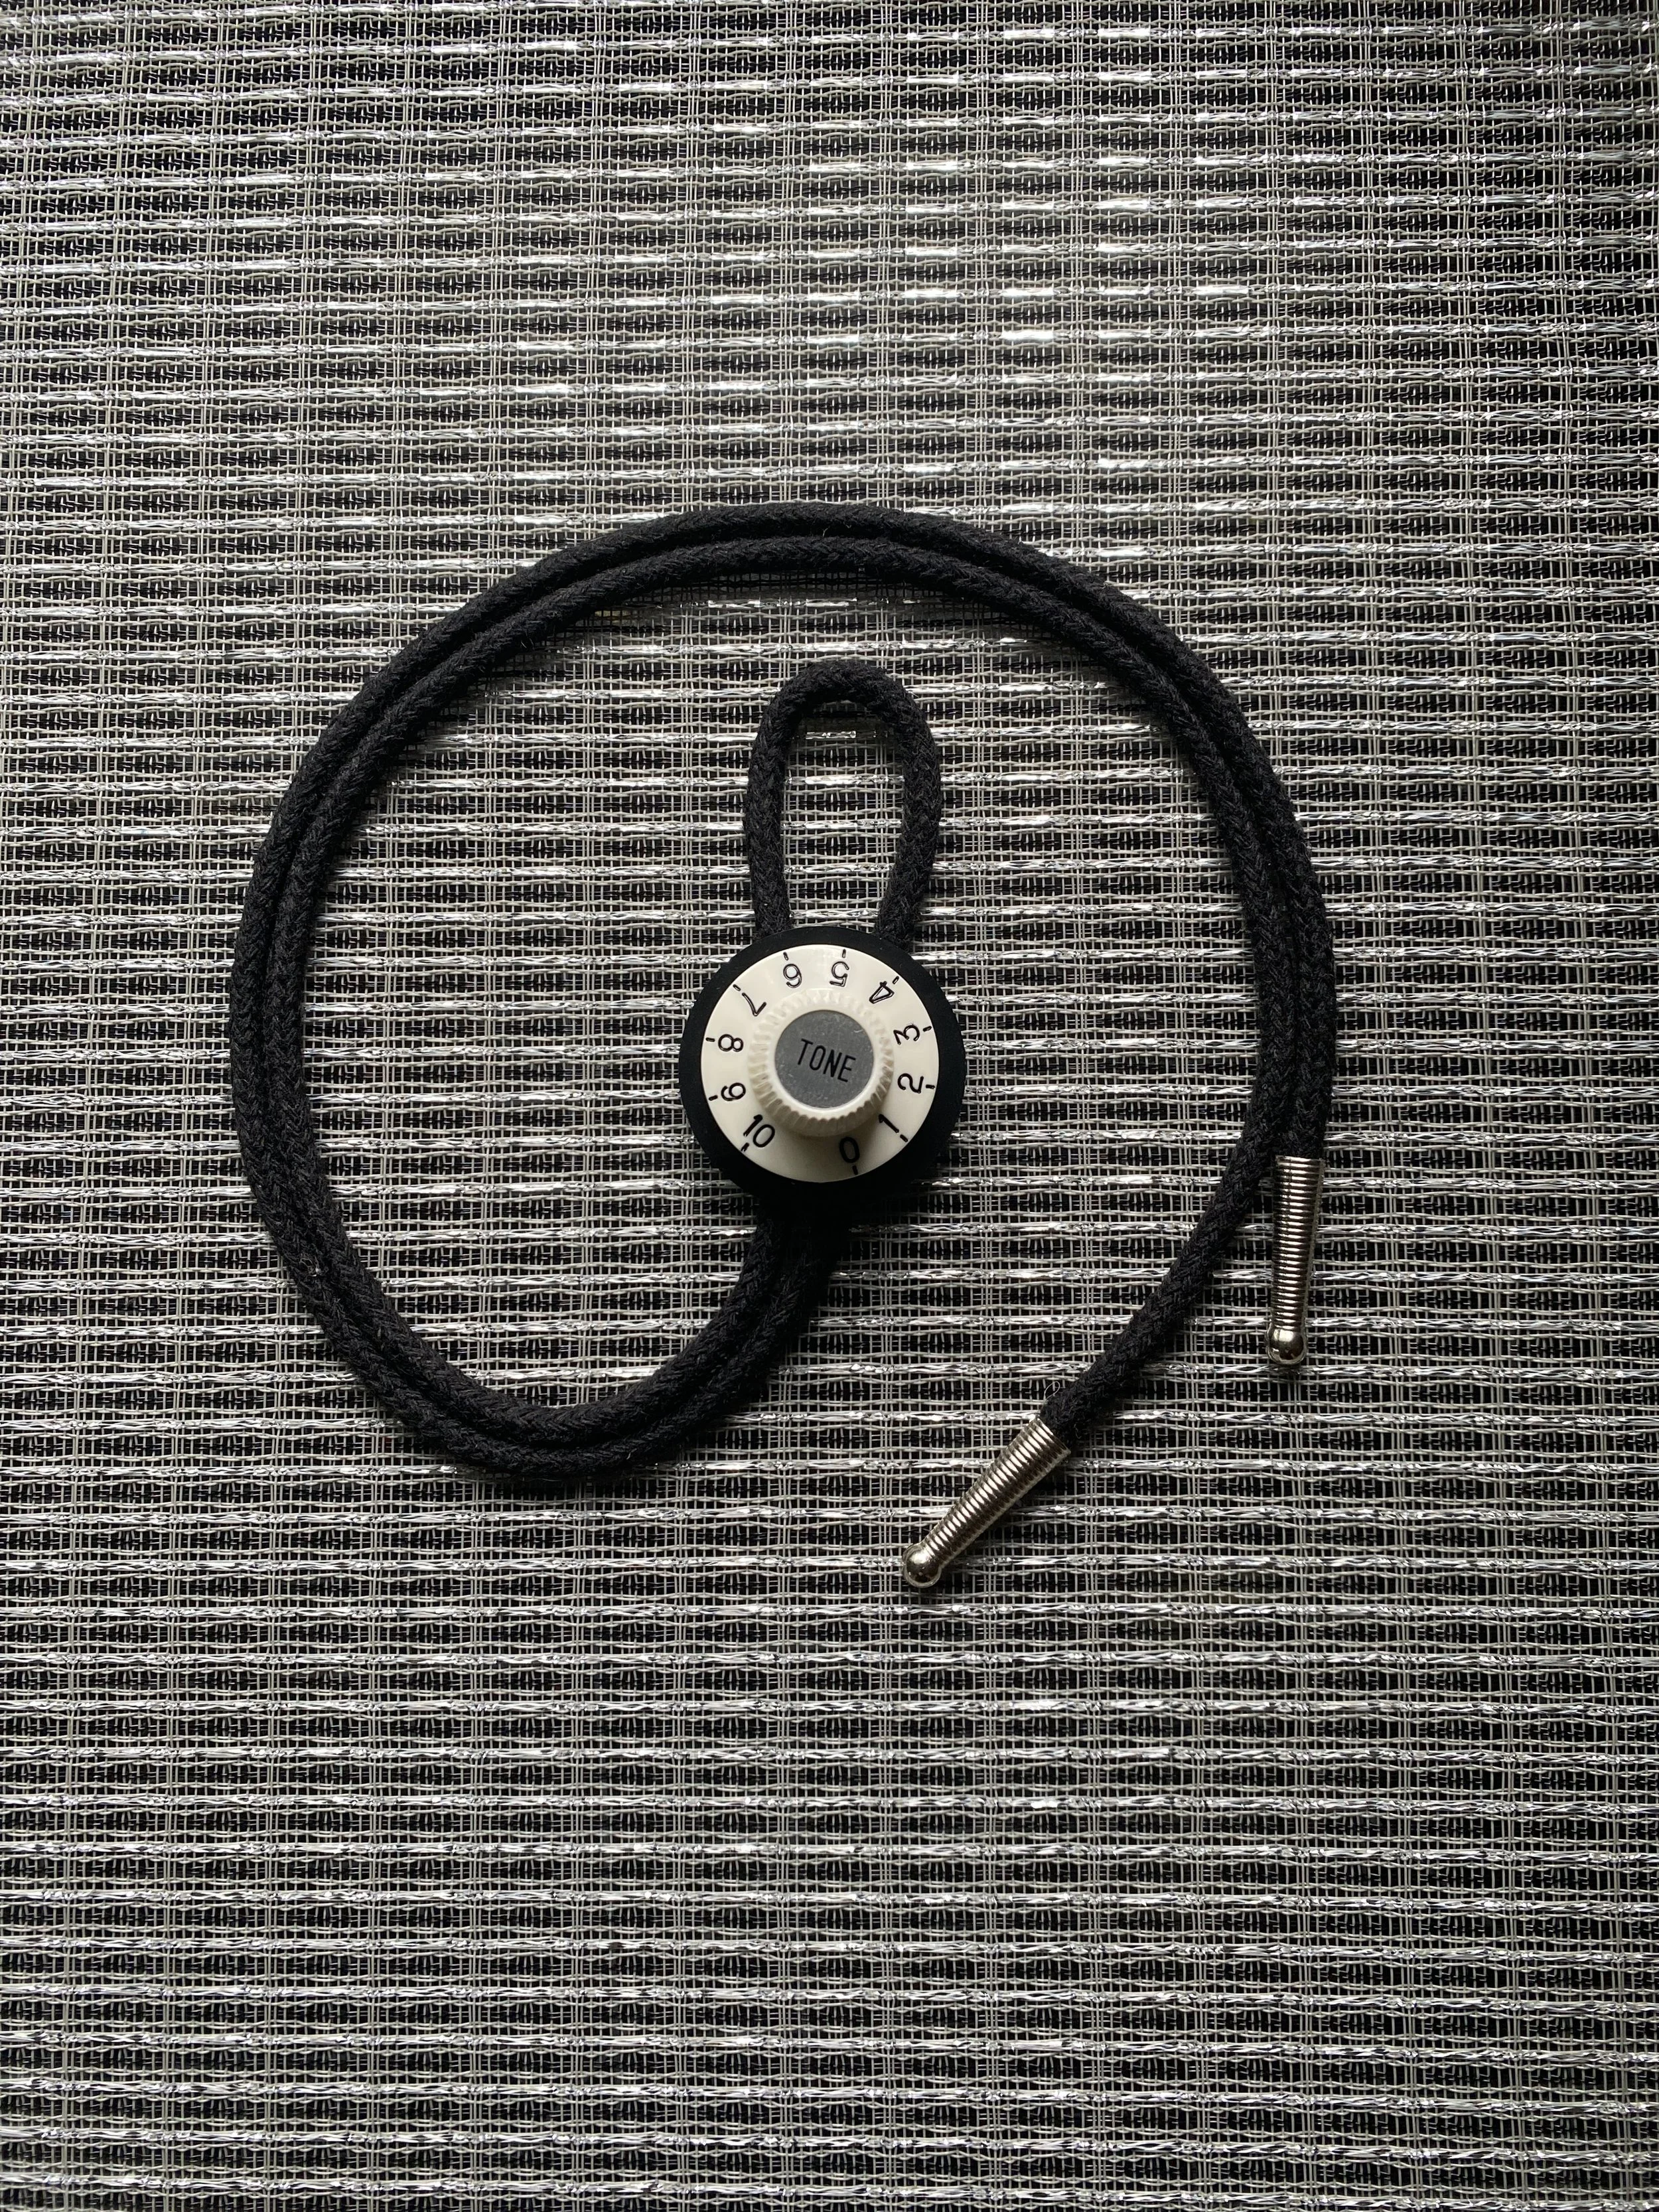
Below is the photoshoot from the most recent run of Knob Bolo ties. There are a few still for sale, head over to my shop to grab one!